You have successfully changed your password
--- > **📅 Last reviewed:** `2025-09-24` > **Author:** `Tanner Bench` > **Related Tags:** `How-To:` # Receiving Inventory in Sage > **📘 Purpose** > This guide walks through the process of receiving inventory in Sage. --- ## 🛠️ Prerequisites - [ ] Have Sage opened on the Home page --- ## 🔁 Step-by-Step Instructions ##### 1. Click on the "Purchase Order" Module in the Left Column 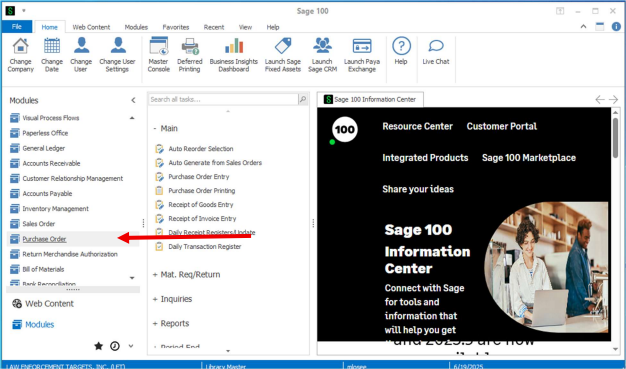 ##### 2. Ensure the date is correct and click "OK" in the pop-up window. 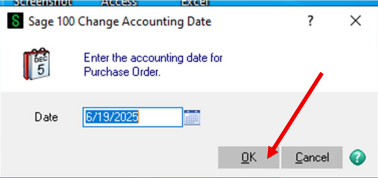 ##### 3. Click on "Receipt of Goods Entry" tool from the Main Menu. 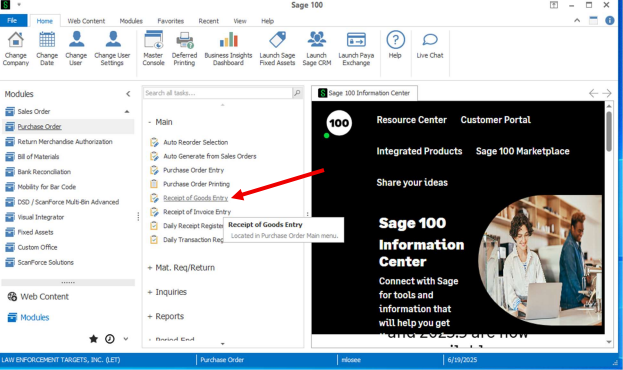 ##### 4. Search for an existing receiving batch or make a new batch. 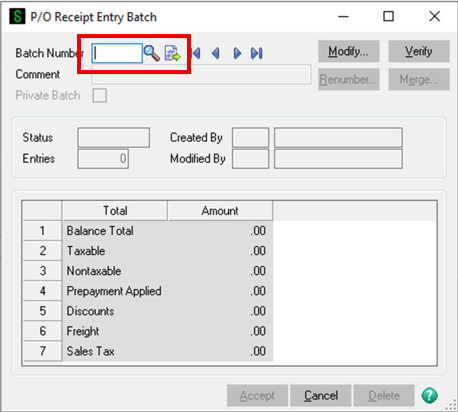 ##### 5. Search for an existing receipt in the batch or create a new receipt. 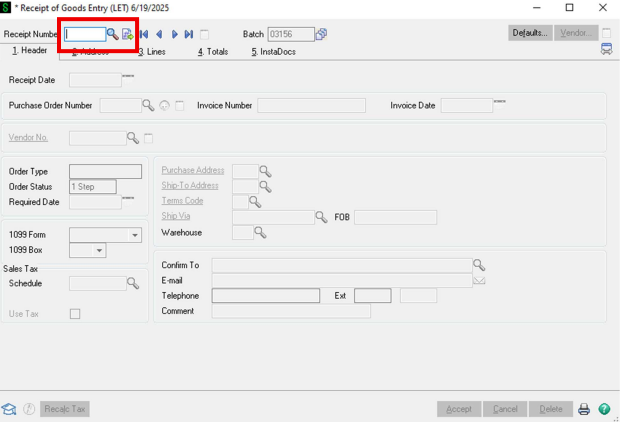 ##### 6. Put the PO number in the "Purchase Order Number" box. 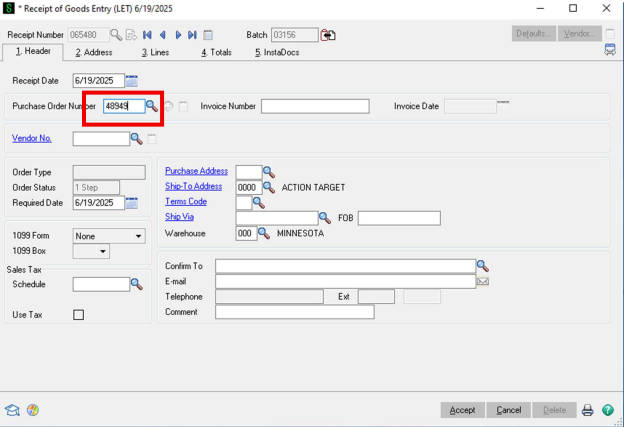 ##### 7. Click on the "3. Lines" option near the top of the tool. 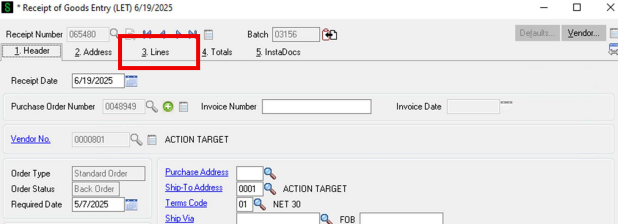 ##### 8. Find the line of parts you are receiving and input the quantity you are receiving. 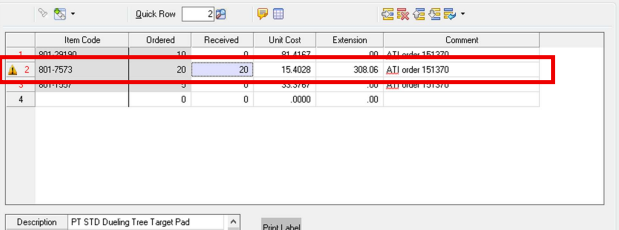 ##### 9. Click the "Accept" button 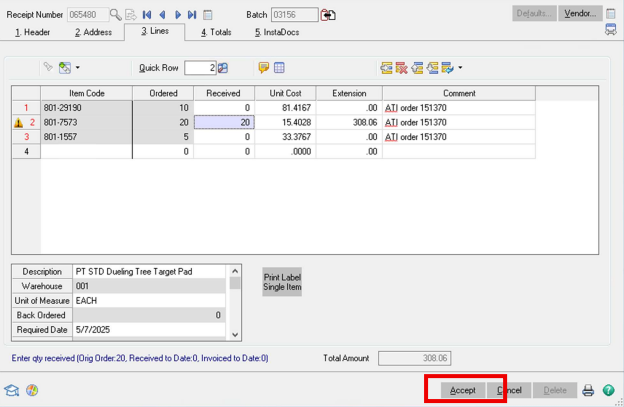 ##### 10. Type in or search for the skid that you are receiving the part to. Then click "OK". 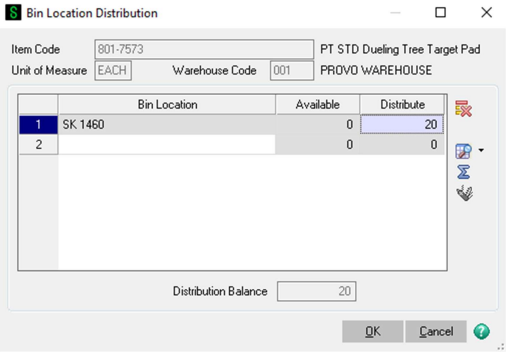 ##### 11. When all the lines on the PO are complete, click on the print icon in the lower right corner. 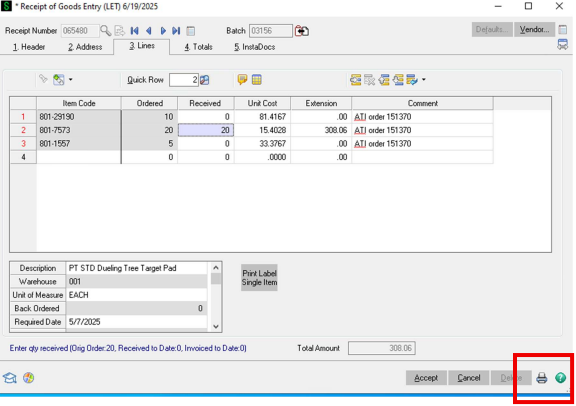 ##### 12. Click "Yes". 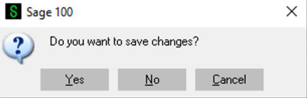 ##### 13. Check the "Print" box and then click "Proceed". 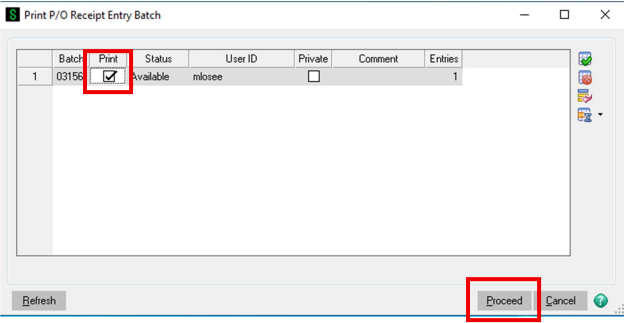 ##### 14. Click "Print". 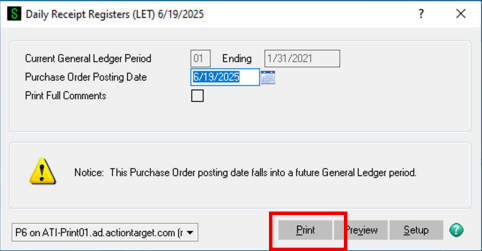 ##### 15. Click "No" to printing the "Back Order Fill Report". 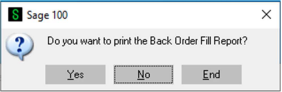 ##### 16. Click "Yes" to printing the "Recap by Bin Location". 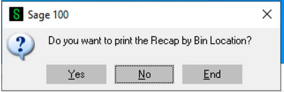 ##### 17. Your web browser will open the printed document which you can review. After reviewing, close the web browser. 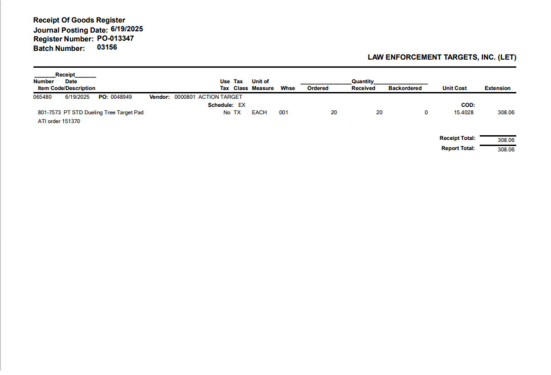 ##### 18. Click "No" to updating the "Daily Receipt Registers". 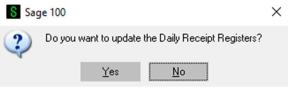Inventory has been successfully input into Sage
--- ## 🧠 Additional Notes & FAQ --- > **📅 Last reviewed:** `2025-09-24` > **Author:** `Tanner Bench` > **Related Tags:** `How-To:` # Using Visual Integrator # Add UPC numbers to the File that Bartender Uses for Printing ### Adding UPC Numbers to the File That Bartender Uses for Printing 1. If the product is not assigned a UPC code, obtain one from GS1. 2. Enter the UPC code in Sage 100 under **Item Maintenance → Action tab**. 3. Add the item code, UPC number, and pack description to the CSV file located at: `L:\User Shared Folders\AcuSport\Bartender Labels\UPC BT Master List.csv` 4. **⚠️ CRITICAL — Read this before opening the CSV in Excel. **Excel will silently corrupt the UPC column if you open the file by double-clicking it. It converts long numbers like `816506000123` into scientific notation (`8.16506E+11`) and **permanently deletes all digits beyond the 15th significant digit** when you save. The trailing digits get replaced with zeros, and the original UPCs cannot be recovered from that file. **Use one of these safe methods instead:** - **Best: Edit in Notepad.** Right-click the file → Open with → Notepad. The UPCs stay as text. Add your new rows in the format `SKU,UPC,Qty` and save. - **If you must use Excel: Import via Power Query.** Open a blank Excel workbook → **Data → Get Data → From File → From Text/CSV** → select the file. In the preview window, click the UPC column header and change the data type to **Text** before clicking **Load**. When saving, use **Save As → CSV UTF-8** and overwrite the file. - **Never** double-click the CSV to open it in Excel. Even if you don't edit the UPC column, saving the file will corrupt every UPC in it. 5. Save the file in CSV format (not .xlsx). 6. Open `Label Template.btw`. The new item will appear in the record selection window when **Print** is selected within Bartender. --- ### If You Suspect a UPC Has Already Been Corrupted Open the CSV in Notepad (not Excel) and check whether the UPC column shows full numeric strings or scientific notation. If you see entries like `8.16506E+11` or UPCs ending in multiple zeros where they shouldn't, those records need to be re-entered from Sage 100 or the original source. # ScanForce # Logging into a Scanner [Logging into the Scanners.pdf](https://wiki.actiontarget.com/attachments/88) # Refreshing the Data [Refreshing your Scanners Data.pdf](https://wiki.actiontarget.com/attachments/91) # Sending Data [Sending Data on Scanners.pdf](https://wiki.actiontarget.com/attachments/92) # Removing Task Data from a Scanner [Removing Task Data from a Scanner.pdf](https://wiki.actiontarget.com/attachments/95) # Picking a Sales Order [Picking Sales Orders on the Scanners.pdf](https://wiki.actiontarget.com/attachments/96) # Capturing an Image While not Picking [Image Capture of Sales Orders.pdf](https://wiki.actiontarget.com/attachments/97) # Receiving with Scanners [Receiving with Scanners.pdf](https://wiki.actiontarget.com/attachments/98) # Item Inquiries [Item Inquiries with the Scanners.pdf](https://wiki.actiontarget.com/attachments/99) # Transferring Parts [Transferring Parts With Scanners.pdf](https://wiki.actiontarget.com/attachments/102) # Printing Part Labels [Printing Part Labels.pdf](https://wiki.actiontarget.com/attachments/103) # StarShip # New Page